Here's the scenario: You've coded for a whole day and not done a single git commit yet. How do you avoid 500+ line commits and break up your work to
logical commits?
Copy your workflow from XCode
If you've ever done a commit with XCode, you know that one thing the Apple's developers got right: The Version Editor.
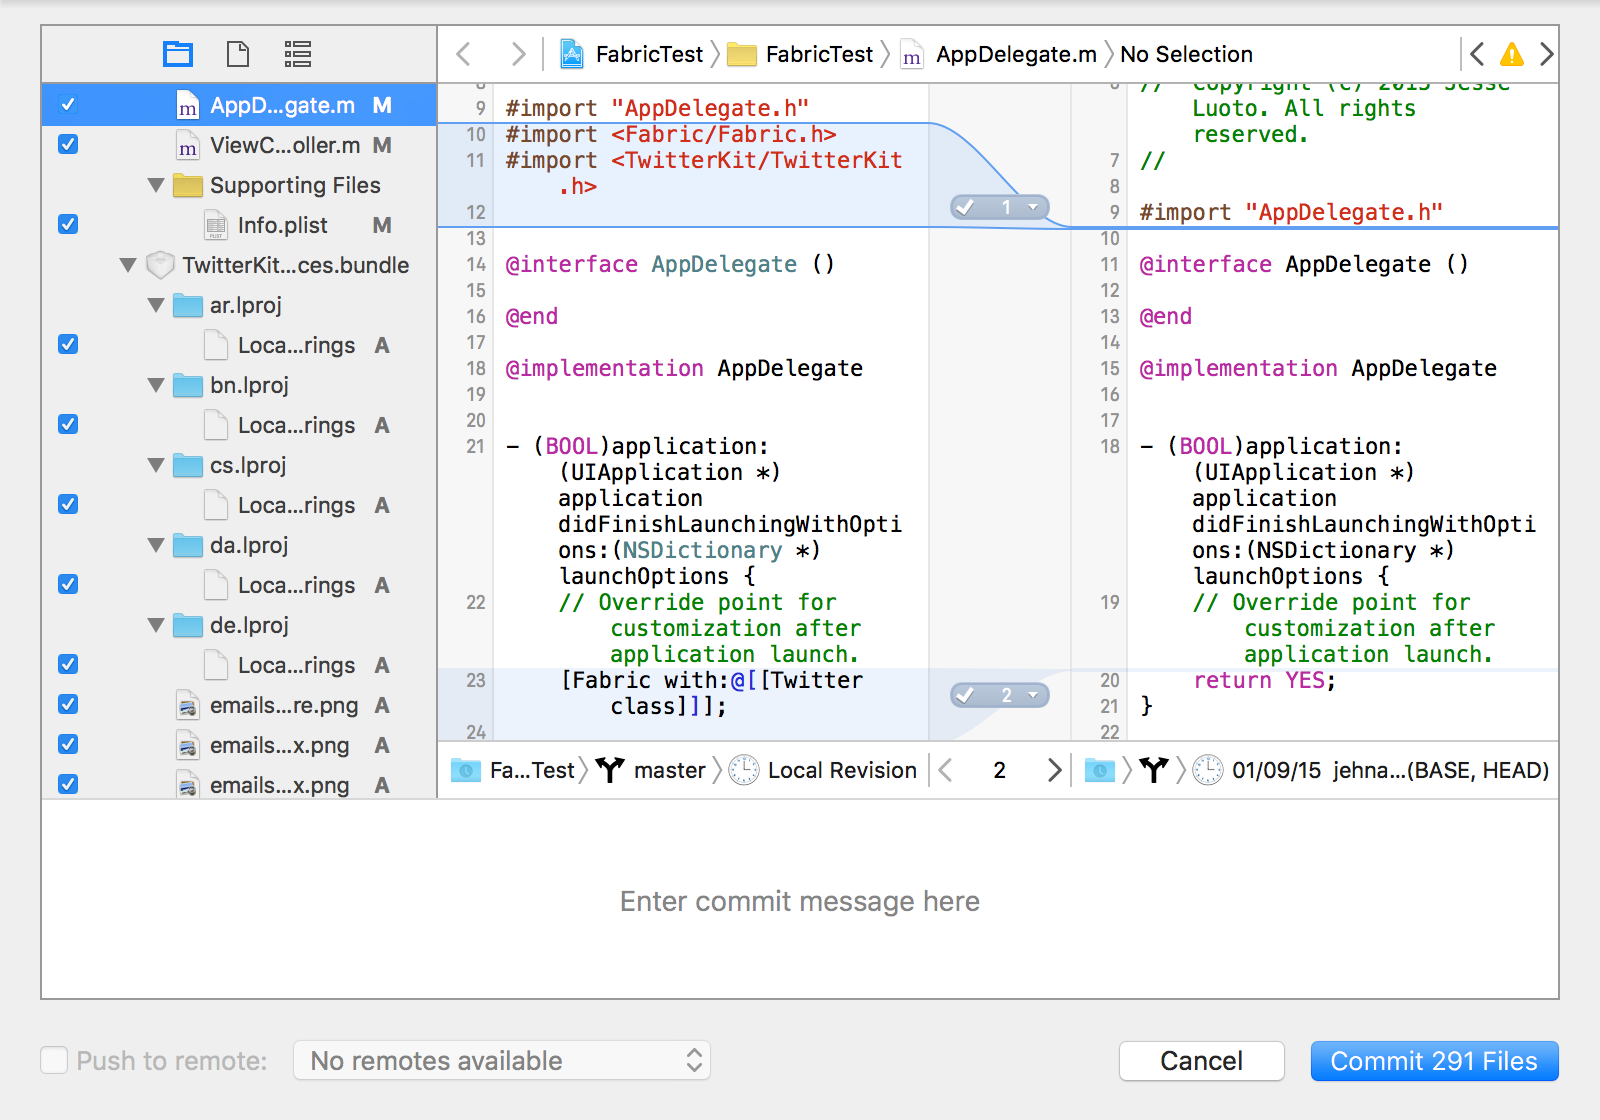
Version Editor lets you go through your changes you've done after your latest commit. Before you write your commit message, you can briefly go through every file and choose whether to include that specific change or not.
How to apply Apple's workflow to command line?
Your regular "time to do a commit" workflow probably looks something like this:
git add .
git commit
The bad news is, that you automatically commit everything that you've touched since the last commit. So how could we change this workflow to have the same effect as with the XCode's version editor?
Introducing stash diff
The good news is, that you can do a trick with the git stash that pretty much
mimics the workflow from XCode. This trick being, that you can do a git diff
also to the most recent stash:
git diff stashWhich shows the diff to the current stash. We can take it a step further and
launch the interactive difftool (I'm using OpenDiff) to go through the diffs,
adding the changes back to stage one by one.
Taking it all together
So let's go through the whole workflow one by one.
1. Add everything to git
You should start up with your regular flow to make sure all changes are added to your git.
git add -AThe -A flag adds every file to be committed, regardless of which directory
you're currently in.
2. Push the changes to stash
git stashIt doesn't matter if you already have something in your stash, since this command always adds a new stash to the stack.
3. Pick which changes to commit
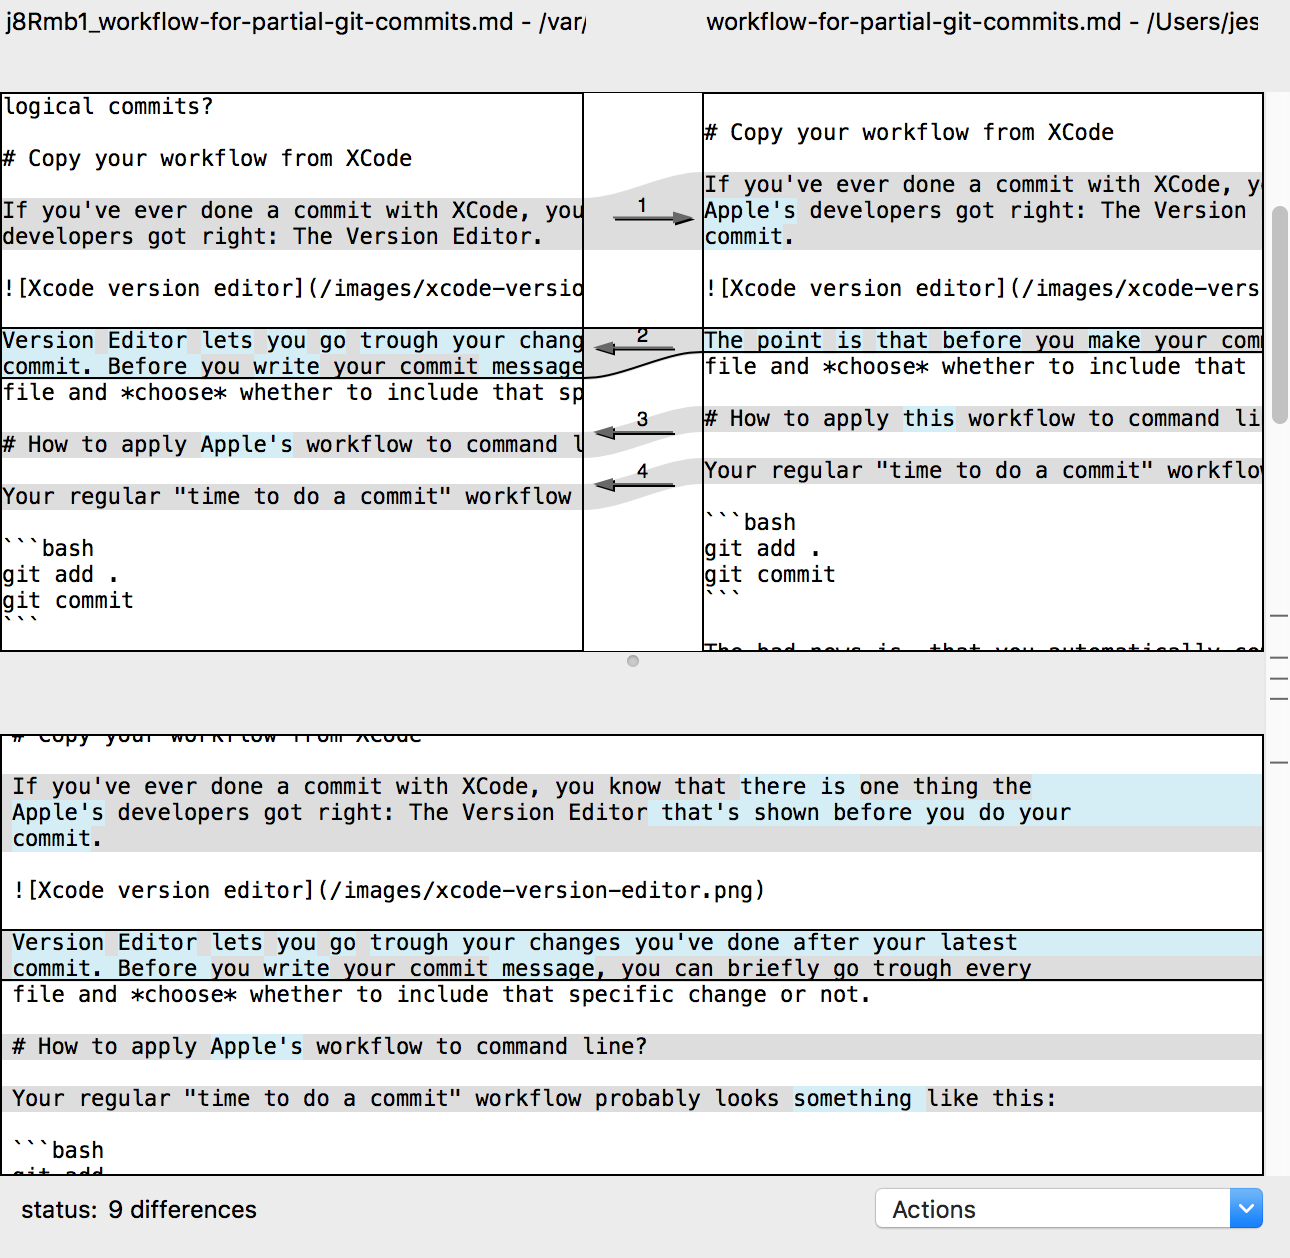
The following command opens up your difftool, which lets you pick the changes you've made one by one back to stage:
git difftool -y stashNote that you actually have to select all the changes you want to commit back to your stage. If you're using OpenDiff, it means the arrow should point left to add that change to your commit.
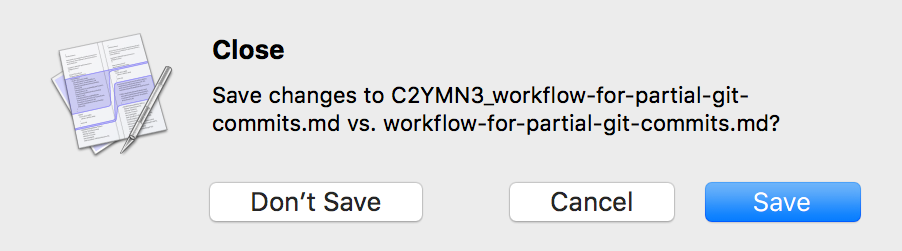
When you're done with the file, hit cmd + Q to exit OpenDiff. When the
program prompts you whether to save the file, make sure to overwrite the current
file.
4. Perform the commit
Up next is your common routine: committing.
git commit -aThis creates a commit from the changes you just selected from the diff.
5. Pull back rest of the changes
Now we should head back to where we started. We can do this by popping the most recently pushed stash:
git stash popNote that the stash we pop does include the changes we already committed, but git just knows that it should discard them, since they're already present in the current branch.
Wrapping it up
So here's the full workflow, ready for you to copy-paste:
git add -A
git stash
git difftool -y stash
git commit -a
git stash pop
Bonus: Alias
As we all like our thing simple, here's a quick alias that will make your life easier.
git config --global alias.pc '!git add -A; git stash; git difftool -y stash; git commit -a; git stash pop;'Running this command will create a global alias of git pc that does the whole
workflow for you (pc as "Partial Commit").
Enjoy!